
Live Beautifully at Home

10 Scary Pumpkin Carving Ideas for Halloween
Image Credit: Some images may come from third-party sources. See our Image Credits.
I like scary pumpkin carving best when the face has a little personality, whether that means a crooked grin or a monster that seems caught in the middle of something terrible. A pumpkin can feel creepy without every cut being perfect, which takes some pressure off before you even pick up a tool.
You can lean into horror with a doll peeking out of the shell, keep things playful with a toothy monster, or build a whole creature around your pumpkin. These ten ideas include simple faces, more detailed projects, and one cake design you can borrow a face from.
Choose the design before you choose the pumpkin, then look for a shape that gives the face enough room. A broad front suits a large mouth, while a taller pumpkin leaves space for a doll or extra features.
Draw the largest openings first and leave generous sections of shell between them. Check the expression from a few steps away before adding tiny teeth or other details.
+
In this article
- A Doll Breaking Free
- A Stitched Grin With Attitude
- A Cat And Toothy Companion
- A Monster With Too Many Eyes
- A Pumpkin Eating Its Neighbor
- An Alien Bursting Out
- A Pumpkin Losing Its Lunch
- A Bunny With Glowing Eyes
- Stitched Eyes And Needle Teeth
- An Anglerfish With A Lure
- Planning Your Scary Pumpkin Carving
- Displaying Your Scary Pumpkin Carving
A Doll Breaking Free
Credit: @bestdayoftheweek_
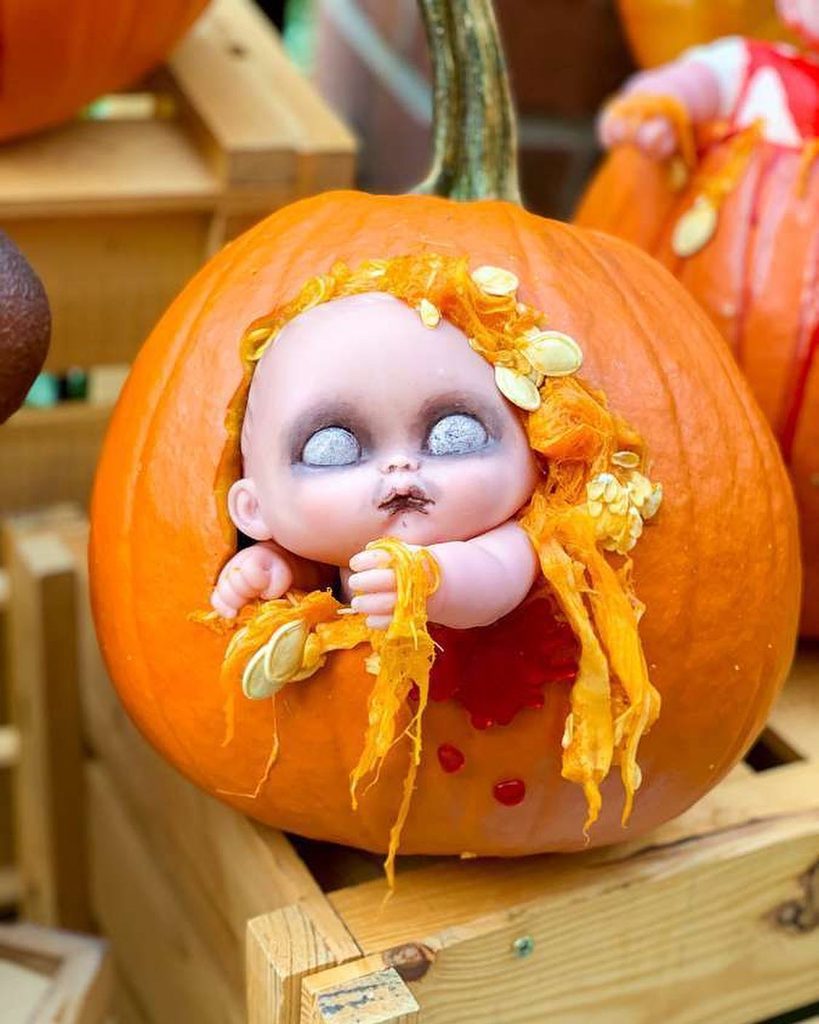
A doll emerging from the shell brings a haunted toy feeling to scary pumpkin carving without needing a complicated face pattern. The contrast between a familiar toy and a ragged opening does most of the work, so you can keep the rest of the pumpkin plain.
Choose a doll you already have permission to alter, then size the opening around its head and hands before cutting. Support it securely inside and add a little pumpkin pulp around the edge, keeping the finished display away from small children and pets.
A Stitched Grin With Attitude
Credit: @erniescookhouse
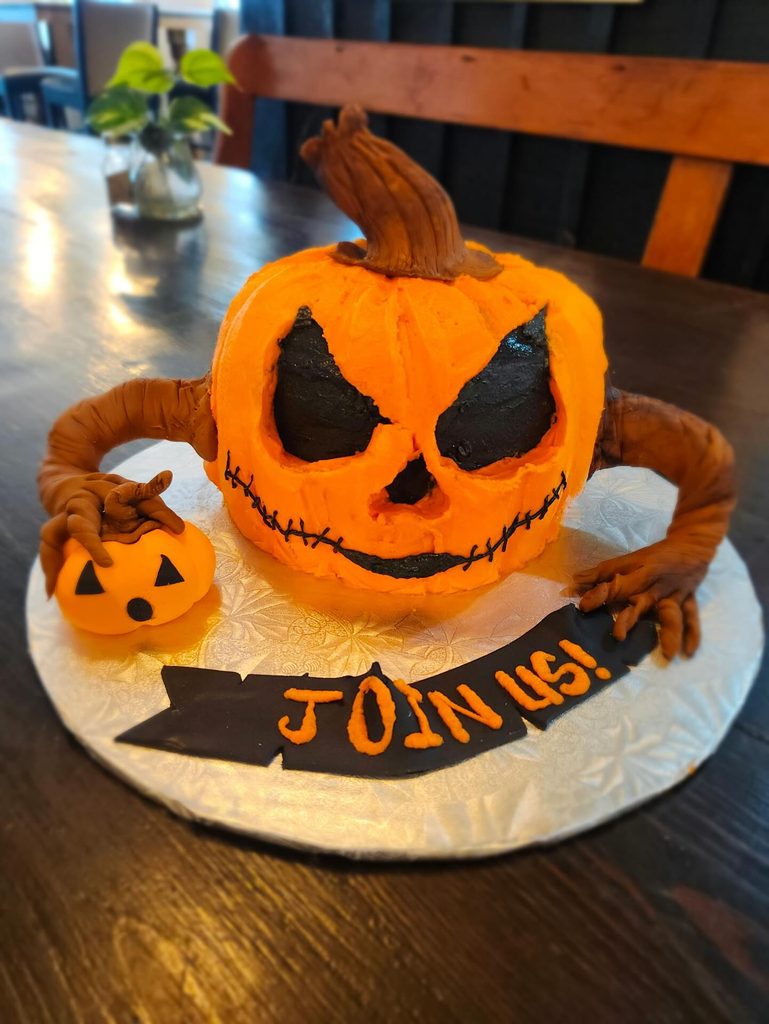
A sweeping stitched grin gives your pumpkin a mischievous expression that feels closer to a storybook villain than a standard lantern. This reference appears to be a decorated cake, but you can borrow the bold eyes and curved smile for a real pumpkin.
For a scary pumpkin carving version, cut the broad features and draw the tiny stitches onto the skin instead of making lots of fragile cuts. A small pumpkin beside it adds a second character without needing to recreate the sculpted arms.
A Cat And Toothy Companion
Credit: @lex_mi83
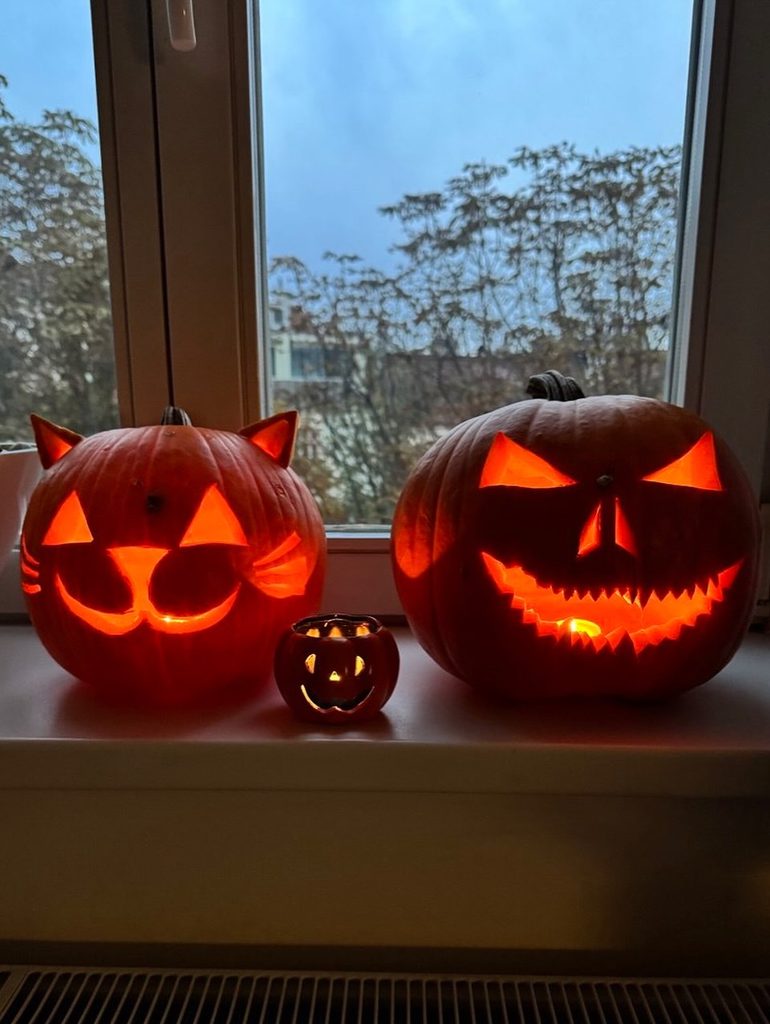
Pairing a friendly cat with a sharper grin lets you make scary pumpkin carving feel playful enough for a family doorway. The softer face gives your display some variety, while the toothy companion supplies the Halloween mood.
Use a similar pumpkin size for each character so neither one disappears beside the other. Give the cat a simple curved mouth, save the small tooth details for its companion, and use battery lights to bring both expressions into view after dark.
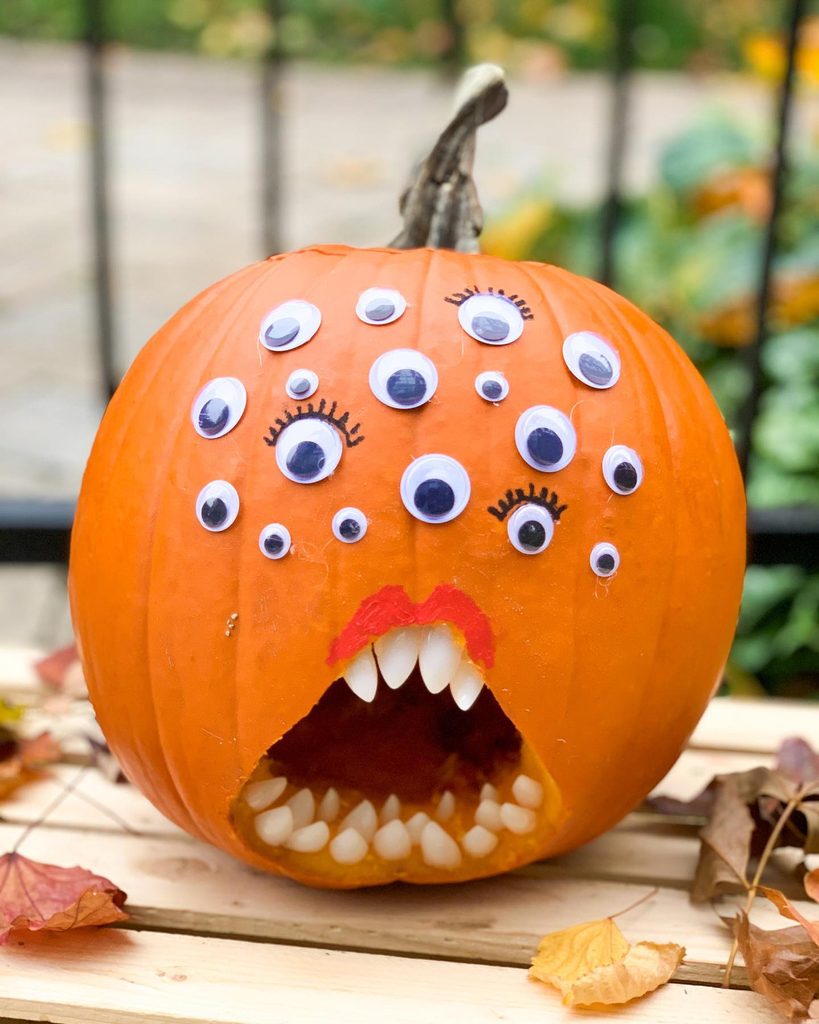
A Monster With Too Many Eyes
Credit: @bestdayoftheweek_
A crowd of mismatched eyes turns a simple open mouth into a creature with plenty of comic horror. This is a useful scary pumpkin carving choice when you would rather spend your time adding character than cutting a complicated pattern.
Carve one generous mouth and plan where the false teeth will sit before attaching the other details. Mix the eye sizes and spacing, then display the finished pumpkin somewhere little hands cannot reach the small glued pieces.
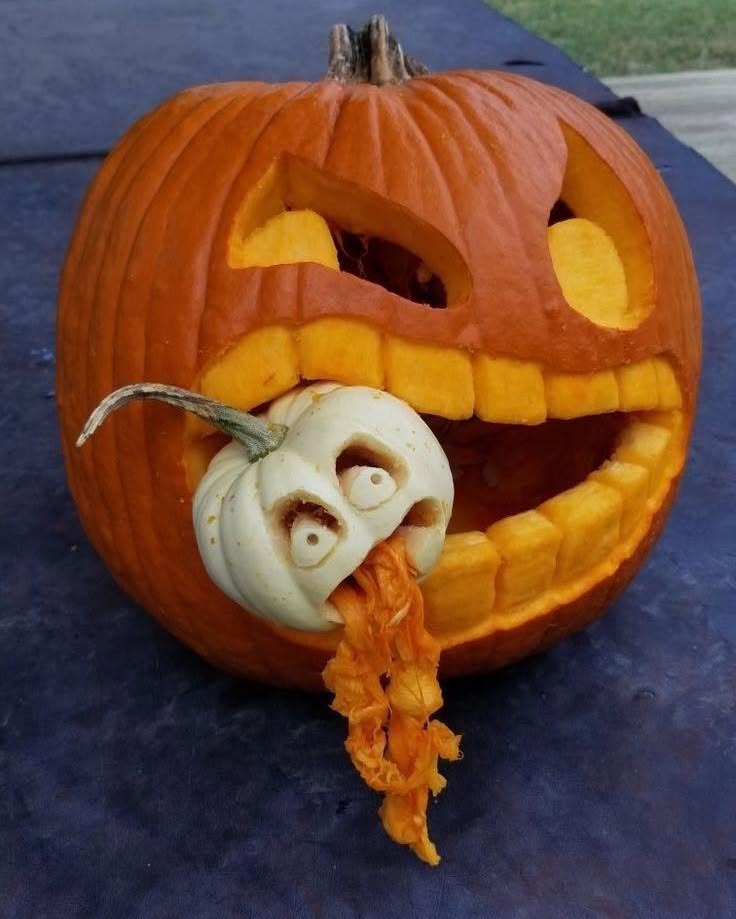
A Pumpkin Eating Its Neighbor
Credit: @juniorsartanddiy
A little pumpkin caught in a larger grin gives scary pumpkin carving a whole scene with just two characters. Choosing a pale smaller pumpkin makes the frightened face easier to notice against the orange shell.
Measure the small pumpkin before planning the big mouth, and leave a thick lower edge to help support it. Give the smaller face a wide expression, then position a little loose pulp beneath it for a messy finishing detail that you can remove after the display.
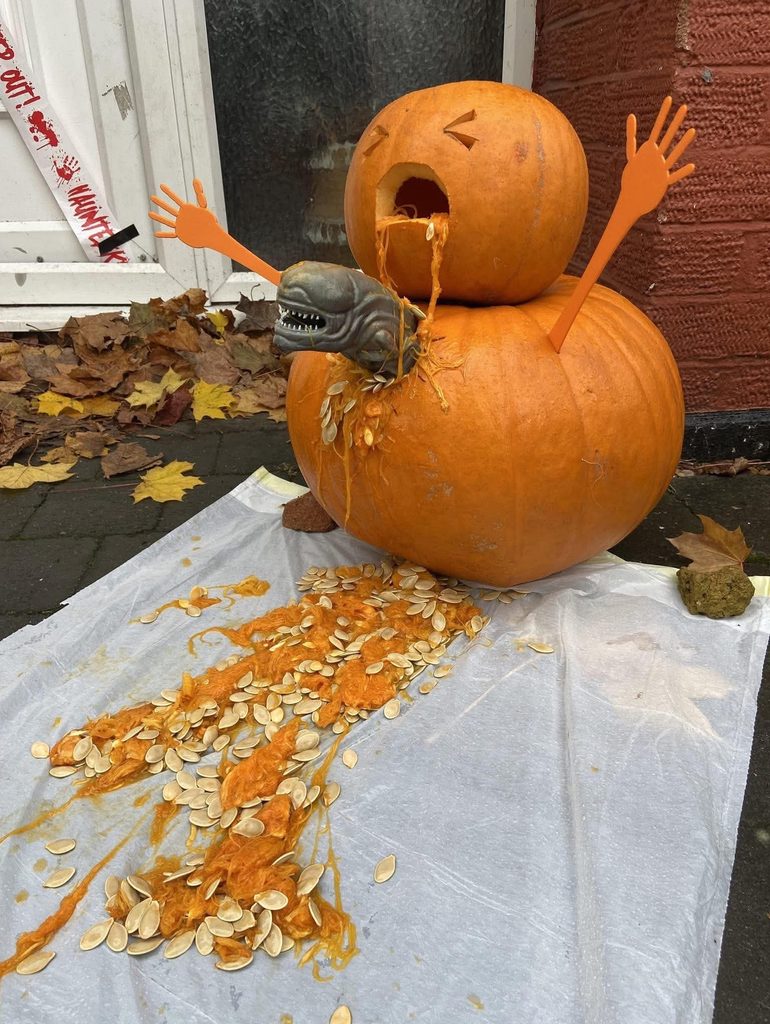
An Alien Bursting Out
Credit: @wreav
An alien prop turns stacked pumpkins into a horror character, with the carved face reacting to the creature below. This take on scary pumpkin carving suits a sheltered party entrance where guests can notice the joke as they approach.
Use a wide, stable lower pumpkin and secure the stack so the top cannot roll or tip. Support the prop separately, keep any pulp on a washable tray off the walking route, and let the simple screaming face carry the expression.
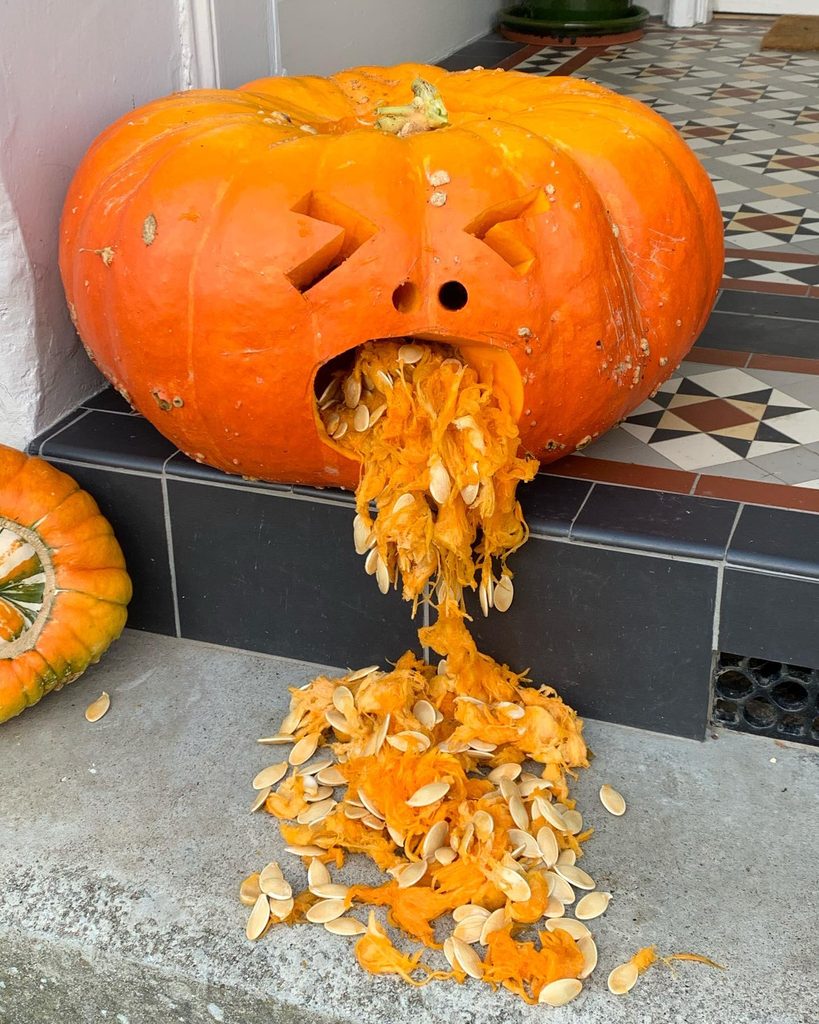
A Pumpkin Losing Its Lunch
Credit: @peteplants
A queasy expression makes scary pumpkin carving funny in a wonderfully gross way, especially when pumpkin pulp becomes part of the scene. Unlike a detailed monster face, this idea relies on a few broad openings and a clear expression.
Position the mouth low enough for the pulp to spill naturally over the edge, then arrange the display on a removable tray beside the steps. Keep the seeds and strands out of the walkway and clear them away when the display starts looking tired.
A Bunny With Glowing Eyes
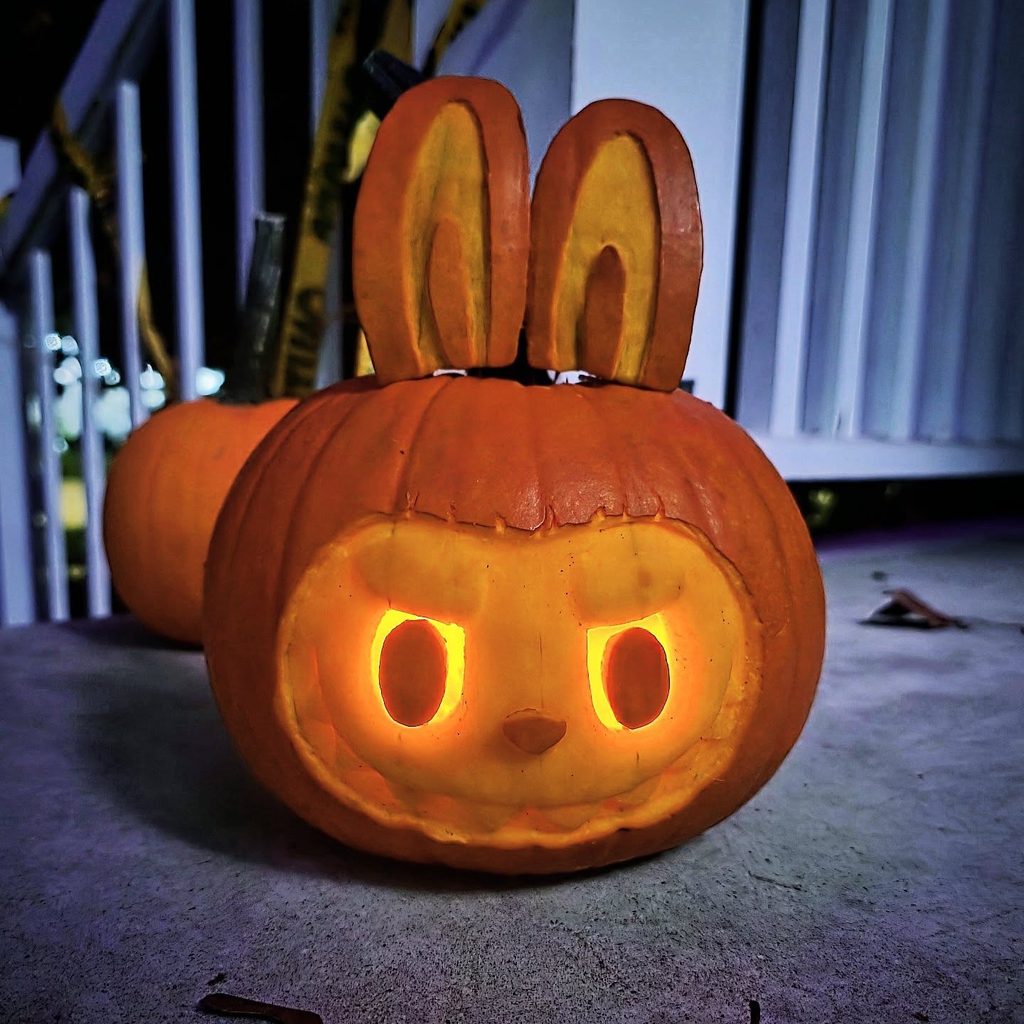
Credit: @dan_hoogkamp_art
A bunny face offers a softer stop between the more gruesome scary pumpkin carving ideas, with glowing eyes adding just enough nighttime mystery. The long ears make the character recognizable before you add any tiny facial details.
Sketch the broad face first and keep its smaller features simple, especially if you are new to shallow carving. Support any attached ears securely and test the light as you work, since the difference between solid shell and thinner areas shapes the final expression.
Stitched Eyes And Needle Teeth
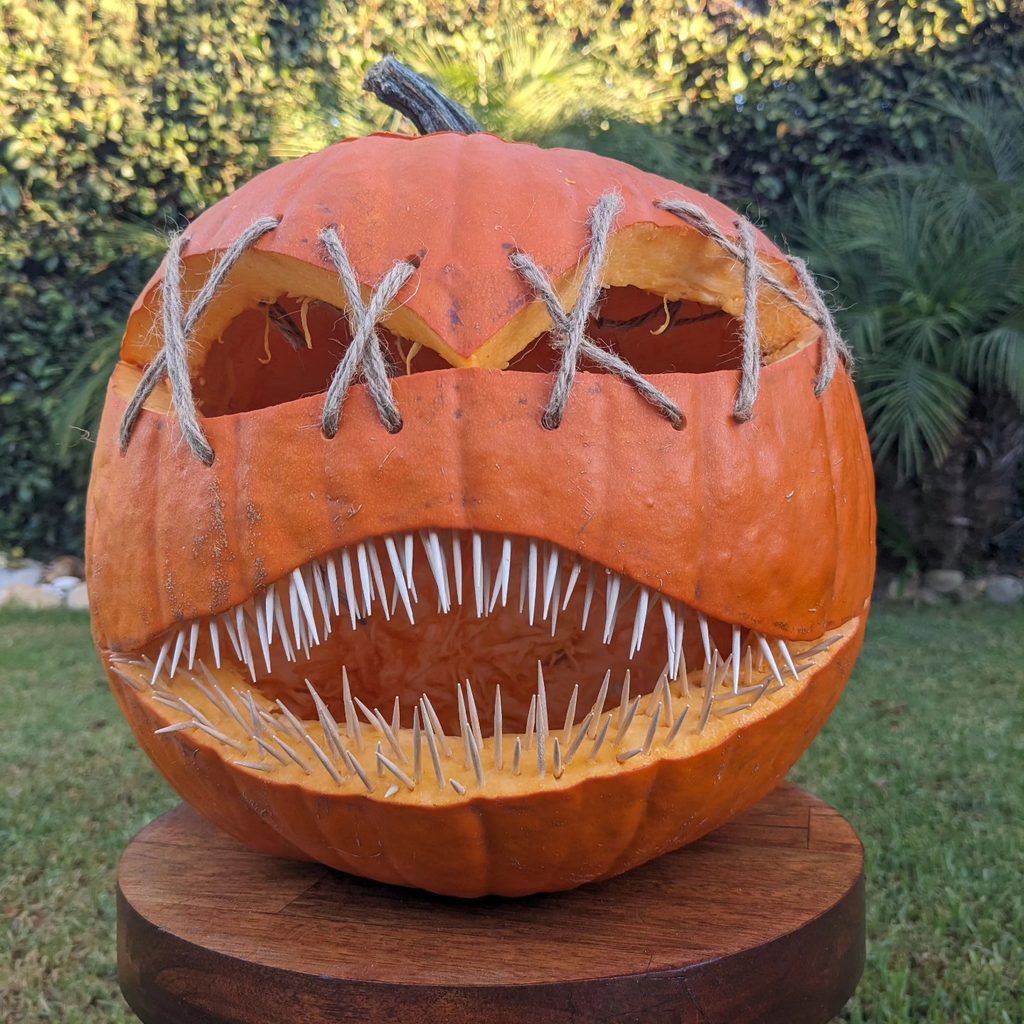
Credit: @ericengmyr
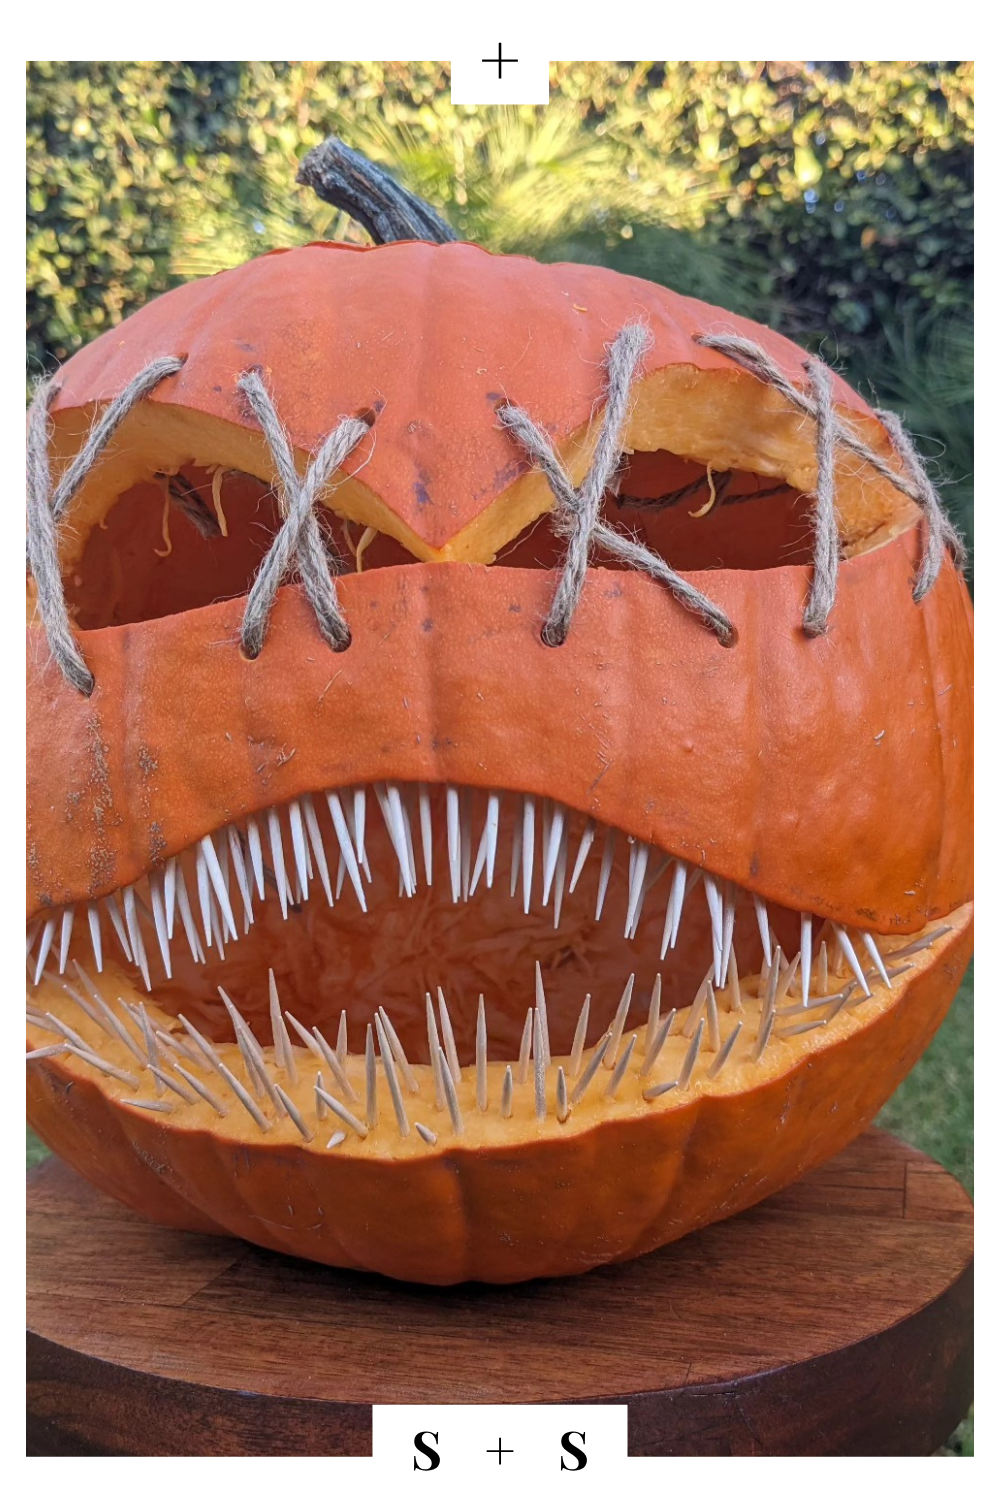
Stitches across the eyes make an ordinary face feel unsettling, while a crowded mouth gives it a much harsher expression. For scary pumpkin carving with a handmade horror feel, the added materials matter as much as the carved openings.
Leave strong borders around the eye holes before threading the twine, and avoid thinning the mouth edge too far. The pointed teeth make this a display for somewhere out of reach, and a battery light keeps open flame away from the string.
An Anglerfish With A Lure
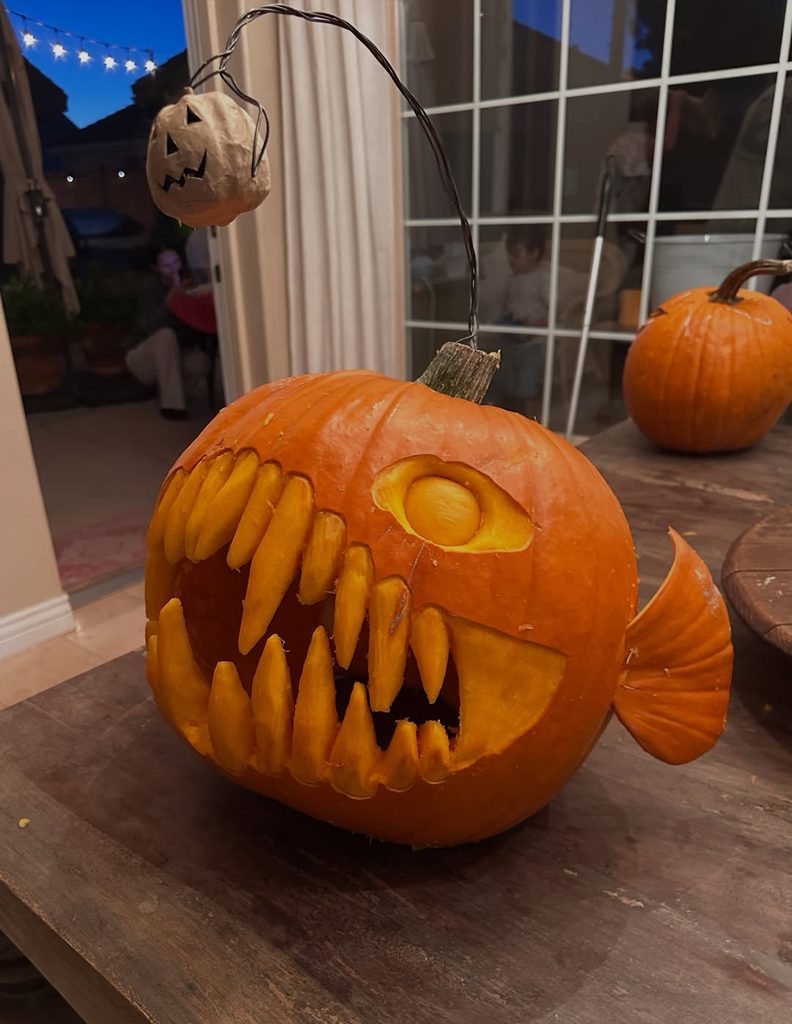
Credit: @keenan.schwalger
An anglerfish gives a scary pumpkin carving a creature shape that works beyond the usual human face. The oversized mouth sets the mood, while a small hanging lure makes the pumpkin recognizable as a strange deep-sea fish.
Reserve the broadest side for the teeth and leave sturdy sections around their bases as you carve. Keep the suspended decoration lightweight, cover any exposed wire ends, and place the pumpkin on a firm surface where the lure will not catch passing sleeves.
Planning Your Scary Pumpkin Carving
Start by deciding how much of the effect will come from cutting and how much will come from added pieces. A doll, false teeth, or a lightweight prop can provide most of the character, while the pumpkin only needs a well placed opening to hold the scene together.
For your first scary pumpkin carving project, choose broad eyes and a mouth with a few substantial teeth. Fine stitches, rows of narrow points, and deeply shaped faces ask for more control, so simplify those features on paper before committing to cuts in the shell.
Set the pumpkin down and check whether it stays steady before choosing its front. Turn it slowly to find a surface with enough space for the expression, and use the natural curve to guide the mouth instead of squeezing a flat drawing onto a rounded surface.
Sketch the main shapes with a washable marker and leave room between the eyes, nose, and mouth. The uncut parts hold everything together, so a slightly smaller opening is often a better starting point than one that leaves a very thin strip of shell.
Work on a clear, dry surface with tools intended for pumpkin carving, following their instructions and keeping your free hand away from the cutting path. Let children help with drawing and decorating while an adult handles the cutting, and take breaks when a small detail becomes frustrating.
Displaying Your Scary Pumpkin Carving
Choose the display spot before adding the last decorations, because a dramatic face needs room to be seen. A single pumpkin can sit beside the doorway, while a stacked creature needs a broader, firmer base and enough space that guests will not brush against it.
Look at your scary pumpkin carving in daylight and again with its battery light switched on in a dim room. A mouth that reads clearly up close may need a little more space around the teeth to show from the pavement, while attached eyes are usually easier to appreciate in some outside light.
Keep the lighting gentle enough that the rest of the face still has shadows. Use a battery light inside decorated pumpkins, especially when the design includes twine, plastic, glue, or an attached toy, and choose a light suited to the conditions wherever you place it.
Treat loose pulp as a temporary decoration and place it on something you can lift away for cleaning. Keep it away from door thresholds and steps people use, and check the pumpkin regularly for soft areas, mold, loose attachments, or a stack that has shifted.
When the display is finished, separate the decorations from the pumpkin before disposing of it appropriately. Pull out wire, string, glued eyes, and pointed teeth carefully, so none of those small pieces end up loose in the garden or mixed into material you plan to compost.